Are you tired of dry and flavorless chicken?
Look no further!
In this article, we’ll delve into the wonderful world of baking thin chicken breasts.
Get ready to discover the secrets to achieving tender, mouthwatering chicken that’s bursting with flavor.
Whether you’re a seasoned chef or a novice in the kitchen, there’s something here for everyone.
Get ready to transform your dinner table with this versatile and delicious dish.
So, let’s jump right in and explore the magical world of baking thin chicken breasts!
baking thin chicken breast
To bake thin chicken breast, start by preheating the oven to 350°F.
Slice the chicken breasts in half lengthwise and pound them between plastic wrap until they are about 1/2 inch thick and of equal thickness.
Prepare a baking pan by adding 1 tablespoon of olive oil and spreading it over the bottom.
Place the chicken on the pan and season with the remaining olive oil, salt, and pepper.
Bake for 15-20 minutes or until the internal temperature reaches 165°F.
Let the chicken rest for 5 minutes before serving.
The key is to slice and pound the chicken thinly to ensure even cooking.
Serve your baked chicken breasts with your choice of side dish, such as salad or rolls.
Thin sliced baked chicken is versatile and can be used in various recipes.
Key Points:
- Preheat the oven to 350°F
- Slice and pound the chicken breast to 1/2 inch thickness
- Spread 1 tablespoon of olive oil on a baking pan
- Season the chicken with olive oil, salt, and pepper
- Bake for 15-20 minutes until internal temperature reaches 165°F
- Let the chicken rest for 5 minutes before serving
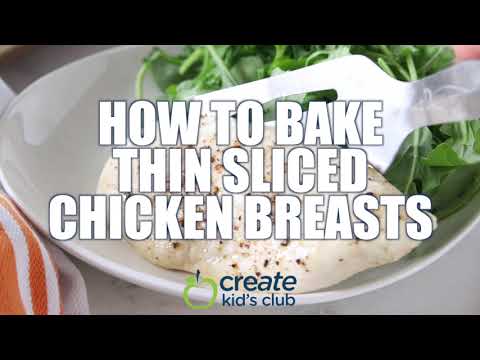
baking thin chicken breast – Watch Video

Pro Tips:
1. Despite their name, chicken breasts are not actually made up of pure muscle. They mainly consist of a combination of muscle, connective tissue, and fat, which is why they tend to dry out easily during cooking if not done properly.
2. Did you know that pounding thin chicken breasts before baking them can actually be beneficial? By tenderizing the meat through pounding, you create a more even thickness, which allows for faster and more consistent cooking.
3. Baking thin chicken breasts is not only a healthy cooking method but also helps retain more nutrients compared to other high-heat cooking methods like frying. It ensures that the chicken breasts are evenly cooked throughout while preserving their natural flavors.
4. When it comes to seasoning thin chicken breasts before baking, marinating them for at least 30 minutes can significantly enhance their taste. Marinades help to tenderize the meat, infuse it with flavor, and create a delicious and juicy end result.
5. If you’re looking to add a crispy crust to your baked thin chicken breasts, you can try using a technique called “double breading.” By dipping the chicken into flour, then into an egg mixture, and finally into breadcrumbs, you create a thick and delicious coating that gives a satisfying crunch when baked.
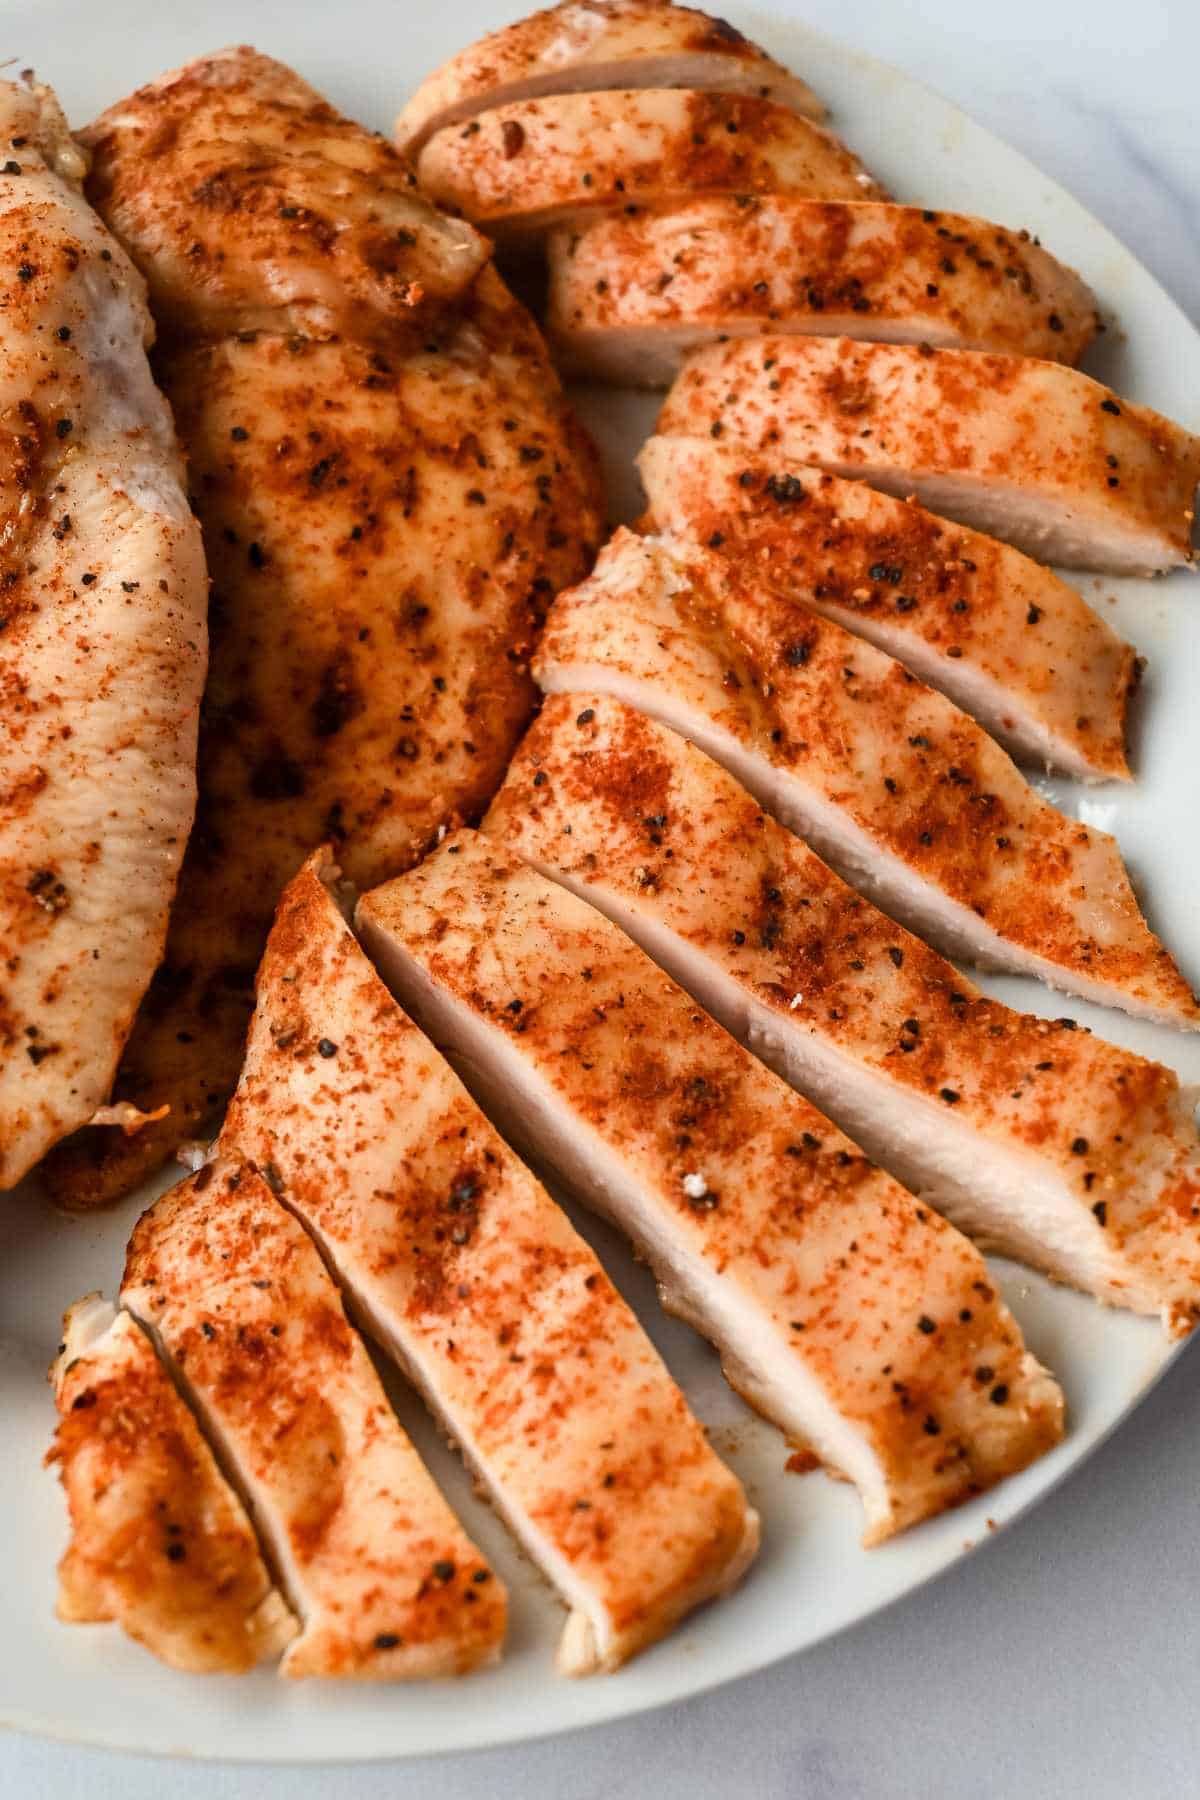
Tender And Flavorful Baked Thin Chicken Breast
When it comes to preparing thin sliced chicken breasts, baking is a simple and efficient method that yields tender and flavor-packed results. Seasoned with just a few basic ingredients, this recipe produces a delicious dinner that requires minimal effort.
By following these expert tips, you can ensure that your baked chicken breasts turn out juicy and flavorful each time:
- Preheat your oven to 350°F (175°C).
- Slice the chicken breasts in half lengthwise.
- Use a kitchen mallet or rolling pin to gently pound or roll them between pieces of plastic wrap. This step ensures that each piece is approximately 1/2 inch thick and of equal thickness throughout, promoting even cooking.
“Evenly sliced chicken breasts ensure optimal cooking results.”
Remember to always focus on the exact topic and provide informative details.
Customize Your Chicken With Different Toppings And Seasonings
One of the great things about thin sliced baked chicken breasts is that they can be easily customized to suit your taste preferences. While the recipe calls for just salt, pepper, and olive oil, feel free to experiment with different seasoning blends or add your favorite toppings.
You can enhance the flavor by seasoning the chicken breasts with garlic powder, paprika, or Italian herbs. For a bit of heat, sprinkle some chili flakes or cayenne pepper. If you crave a tangy twist, try brushing the chicken with barbecue sauce or a tangy marinade before baking.
The possibilities are endless, allowing you to create a variety of delicious dishes using this versatile recipe.
- Add different seasoning blends
- Experiment with toppings
- Season with garlic powder, paprika, or Italian herbs
- Sprinkle chili flakes or cayenne pepper for heat
- Brush with barbecue sauce or tangy marinade for a tangy twist
Essential Equipment And Ingredients For Baking Thin Chicken Breast
To successfully bake thin sliced chicken breasts, it is important to have the right equipment and ingredients on hand. You will need:
- A cutting board and a sharp chef’s knife to slice the chicken breasts.
- A baking sheet to hold the chicken during the baking process.
- A pastry brush or spoon to spread the olive oil on the baking pan.
The list of ingredients is short and simple, consisting of:
- 1 pound of chicken breasts
- 2 tablespoons of olive oil
- Salt and pepper.
Ensuring that you have all the necessary equipment and ingredients ready before you start cooking will make the process much smoother and more enjoyable.
Preheating The Oven To The Perfect Temperature
For perfectly baked thin sliced chicken breasts, preheating your oven to the right temperature is crucial. This recipe requires a preheated oven of 350°F (175°C). Preheating allows the chicken breasts to cook evenly and facilitates the browning process, resulting in a crispy exterior and a juicy interior.
Take the time to properly preheat your oven to ensure the best possible outcome. This step sets the stage for success and helps to create a delicious meal that will impress your family or guests.
Slicing And Pounding The Chicken For Equal Thickness
Creating equal thickness in your thin sliced chicken breasts is key to achieving a consistently cooked and juicy result. Start by slicing each breast in half lengthwise to create thinner and more manageable pieces.
Then, place each piece between sheets of plastic wrap and gently pound or roll them until they are approximately 1/2 inch thick.
- Pounding or rolling the chicken breasts ensures even cooking and prevents overcooked and undercooked areas.
- Tenderizes the meat for a more enjoyable dining experience.
“Taking the time to pound or roll the chicken breasts ensures that they cook evenly and prevents one area from being overcooked while another remains undercooked. This step also tenderizes the meat, resulting in a more enjoyable dining experience.”
Preparing The Baking Pan For Optimal Cooking
Before placing the chicken breasts on the baking sheet, it is important to prepare the pan to prevent sticking and ensure optimal cooking. Take 1 tablespoon of olive oil and spread it evenly over the bottom of the baking sheet using a pastry brush or spoon. This will create a non-stick surface and help the chicken breasts brown nicely.
A properly prepared baking pan not only enhances the visual appeal of your chicken but also allows for easier cleanup afterward. It’s a small step that makes a big difference in the overall cooking process.
- Spread 1 tablespoon of olive oil evenly over the bottom of the baking sheet.
- Use a pastry brush or spoon to ensure even distribution.
- This creates a non-stick surface for the chicken breasts.
- Helps in achieving a nice golden brown color.
- Enhances visual appeal and easier cleanup.
- A simple step for an improved cooking experience.
Seasoning The Chicken Before Baking
To enhance the flavor of chicken breasts, start by seasoning them with a tablespoon of olive oil, salt, and pepper. Ensure that each piece is evenly coated by drizzling the olive oil over the chicken and using your hands or a pastry brush. Sprinkle a generous amount of salt and pepper on both sides of the chicken breasts, adjusting to taste.
The seasoning not only enhances the natural flavor of the chicken but also adds depth to the overall taste. With minimal effort, you can elevate the dish and create a memorable dining experience for yourself and your loved ones.
- Season the chicken breasts with a tablespoon of olive oil, salt, and pepper.
- Drizzle the olive oil over the chicken and evenly coat each piece.
- Sprinkle a generous amount of salt and pepper on both sides of the chicken breasts, adjusting to taste.
“The seasoning not only enhances the natural flavor of the chicken but also adds depth to the overall taste.”
Monitoring The Internal Temperature With A Meat Thermometer
To ensure that your thin sliced chicken breasts are cooked to perfection, it is essential to monitor the internal temperature using a meat thermometer. When the chicken reaches an internal temperature of 165°F (74°C), it is cooked and safe to eat.
- Insert the thermometer into the thickest part of one of the chicken breasts, avoiding contact with bone or the baking sheet.
- This ensures an accurate reading and helps prevent the chicken from overcooking.
By relying on a meat thermometer, you can achieve juicy and tender chicken breasts every time.
Preventing Dry Chicken By Removing From The Oven At The Right Temperature
To maintain the juiciness of baked chicken breasts, it is crucial to remove them from the oven as soon as they reach the recommended internal temperature of 165°F (74°C). Overcooking chicken can result in dry and tough meat, which is far from desirable.
By following the recommended cooking time and using a meat thermometer to check for doneness, you can ensure that your chicken is perfectly cooked and retains its moisture. Always remember to remove the chicken from the oven promptly once it reaches the desired temperature to guarantee succulent results.
Allowing The Chicken To Rest Before Serving
After removing the chicken from the oven, it is important to let it rest for about 5 minutes before serving. This resting period allows the natural juices to redistribute throughout the meat, keeping it tender and moist. Cutting into the chicken immediately after baking will cause the juices to escape, resulting in drier meat.
Resting the chicken also helps to retain heat, ensuring that it is served at an optimal temperature. This short wait time allows you to prepare any accompanying side dishes, set the table, or simply relax before enjoying your delicious meal.
“To keep the chicken tender and moist, it is best to let it rest for about 5 minutes before serving.”
- Let the chicken rest for about 5 minutes before serving to keep it tender and moist.
- Use this waiting time to prepare side dishes, set the table, or simply relax before enjoying your meal.
So, try this recipe today and elevate your cooking skills with tender and tasty thin chicken breasts!
You may need to know these questions about baking thin chicken breast
Is it better to bake chicken at 350 or 400?
The ideal temperature to bake chicken ultimately depends on your desired outcome. Baking at 350 degrees Fahrenheit will result in a juicy and tender chicken breast, as the slower cooking process allows for the preservation of moisture. On the other hand, if you crave a quicker cooking time and a crispier texture, opting for 400 degrees Fahrenheit will help achieve a delightful outer layer while still ensuring the chicken is thoroughly cooked. Ultimately, the choice between 350 and 400 degrees Fahrenheit should be based on your personal preference for tenderness versus a crispy finish.
How long do you bake thin chicken breast at 400?
When baking thin chicken breast at 400°F, it is best to cook it for approximately 15-20 minutes. This high temperature ensures that the chicken gets cooked thoroughly while still retaining its juiciness. However, if you were to lower the temperature to 350°F, the cooking time may need to be extended to around 25-30 minutes, as the lower heat requires additional time to fully cook the chicken. The thinness of the chicken slices should also be taken into consideration when determining the appropriate cooking time.
How long do you cook thin chicken breast at 350?
For perfectly cooked thin chicken breast, set your oven to 350°F and bake for approximately 15-20 minutes. This cooking time and temperature will ensure that the chicken is tender, juicy, and thoroughly cooked without being overdone. Remember to check the internal temperature with a meat thermometer to ensure it reaches 165°F for safe consumption.
Do you bake chicken at 400 covered or uncovered?
For best results, it is recommended to bake chicken at 400°F uncovered. This allows the chicken to cook evenly and develop a crispy exterior. After following the initial steps, simply place the chicken pieces in the preheated oven and bake for 25 to 30 minutes until they are no longer pink or until the chicken reaches the desired level of doneness.
Reference source
https://www.edithsbistro.com/how-long-to-bake-chicken-breast-at-350/
https://healthyfitnessmeals.com/crispy-baked-chicken-cutlets/
https://www.mommafitlyndsey.com/thin-chicken-breast/
https://swartzsdeli.com/blog/how-long-to-bake-thin-chicken-breast/